Continued my web security studies. I worked towards finishing my notes on the PassportJS authentication framework. The difference between my notes and the docs is considerable. The more I work on teams and with a variety of developers the more I tend to realize that not all developers are great teachers. If we think about documentation as a textbook, the goal would be to succinctly present the material in a way that makes it easiest for the reader to consume the information. A lot of programming documentation that I have read do not do this though.
The primary issue I have found with some documentation is the intense brevity it is focused on. Perhaps in an effort to remove excess text or overwhelm the reader, these docs tend to remove too much context and leave the reader (me) grasping at straws trying to figure out how it all fits together. The worst type of docs being ones that assume a lot of knowledge without informing you what knowledge is required to consume the documentation.
For example, I have read a lot of docs recently where the code snippets are as bare bones as you can get. It is almost like the writer didn’t want to explain what was happening at all in the code with a few guiding comments. Even more specifically with the PassportJS docs there is so much assumed familiarity with the express and express-session npm packages that when the passport npm package itself is said to be a framework that works with other packages besides just express, namely Connect. So in writing my own notes I have had to expand on a lot of the original documentation topics to make them clearer and connected.
One thing I do wonder about though – what is the value of a great teacher in coding. There are a number of tech YouTubers that seem to make a decent amount of money but what else is there. I guess boot camps might hire some devs to teach or pseudo-bloggers like myself…? I am a decent teacher if I do say so myself so I just wonder how I might potentially leverage that skillset in the future. A lot to think about LOL.
Anyways more notes are in the works since I am still trying to solidify all the concepts and implementations involved with working with backend app authentication and sessions using cookies and encryption. This is a big backend concept piece that I am almost finished with so I am just trying to enjoy my time and make sure I don’t rush myself.
TLDR;
Okay, so here are the highlights of what I did:
- Backend -> Continued studying the concepts mentioned in the web security section. I am still working on compiling all the information in this docs page as well as all the other examples and sources to construct my own notes that ensure this framework is clear and easy for me to use in the future. I have the sessions section to finish up with followed by a syntax / API outline.
Rough Notes on PassportJS
Overview
Passport is authentication middleware for Node.js. It is designed to serve a singular purpose: authenticate requests.
Passport works to separate the overhead involved with authentication by providing a framework that divides concerns into:
- Middleware
- Strategies
- Sessions
while delegating unrelated details such as data access to the application itself. Whether you are building a new application or working on an existing one, this separation of concerns makes Passport extremely easy to integrate.
Passport is authentication middleware for Node.js. Extremely flexible and modular, Passport can be unobtrusively dropped in to any Express-based web application. A comprehensive set of strategies support authentication using a username and password, Facebook, Twitter, and more. – Passport Website 2022
Middleware
Passport is used as middleware within a web application to authenticate requests. Middleware was popularized in Node.js by Express and its even more minimalist sibling Connect.
The following code is an example of a route that authenticates a user with a username and password:
app.post(
  "/login/password",
  passport.authenticate("local", {
    failureRedirect: "/login",
    failureMessage: true,
  }),
  function (req, res) {
    res.redirect("/~" + req.user.username);
  }
);
In this route, passport.authenticate() is middleware which will authenticate the request. By default, when authentication succeeds:
- The
req.userproperty is set to the authenticated user - A login session is established
- The next function in the stack is called
The next function called in the stack is typically application-specific logic which will process the request on behalf of the user (i.e. Once the user is authenticated successfully perform the request handling and send the desired response back to the browser/client).
When authentication fails, an HTTP 401 Unauthorized response will be sent and the request-response cycle will end. Any additional functions in the stack will not be called. This default behavior is suitable for APIs obeying representational state transfer (REST) constraints, and can be modified using options.
In traditional web applications, which interact with the user via HTML pages, forms, and redirects, the failureRedirect option is commonly used. Instead of responding with 401 Unauthorized, the browser will be redirected to the given location with a 302 Found response. This location is typically the login page, which gives the user another attempt to log in after an authentication failure. This is often paired with the failureMessage option, which will add an informative message to the session about why authentication failed which can then be displayed to the user.
The mechanism used to authenticate the request is implemented by a strategy. Authenticating a user with a username and password entails a different set of operations than authenticating a user via OpenID Connect. As such, those two mechanisms are implemented by two different strategies. In the route above, the local strategy (from the npm package called passport-local) is used to verify a username and password.
Strategies
Strategies are responsible for authenticating requests, which they accomplish by implementing an authentication mechanism. Authentication mechanisms:
- Define how to encode a credential, such as a password or an assertion from an identity provider (IdP), in a request.
- Specify the procedure necessary to verify that credential.
If the credential is successfully verified, the request is authenticated. There are a wide variety of authentication mechanisms, and a corresponding variety of strategies. Strategies are distributed in separate packages. To use them for authentication we must:
- Install the package containing the strategy (Generally using
npmjust like any other package). - Configure the strategy manually by calling the strategy constructor with our desired customizations.
- Register the strategy in PassportJS by passing the configured strategy in the
passport.use(strategy)method. - Employ the strategy by called
passport.authenticate()
Once these three steps are executed the strategy can be used to authenticate HTTP requests by using the configured PassportJS middleware function in routes for our server-side application.
Step 1 – Install
Strategies are published to the npm registry, and installed using a package manager.
For example, the following command will install passport-local, a package which provides a strategy for authenticating with a username and password:
$ npm install passport-local
And the following command will install passport-openidconnect, a package which implements support for OpenID Connect:
$ npm install passport-openidconnect
Developers only need to install the packages which provide authentication mechanisms required by the application. We can then plug these strategies into PassportJS. This reduces overall application size by avoiding unnecessary dependencies. Currently there are roughly over 530 strategies that can be used.
Step 2 – Configure
Once a package has been installed, the strategy needs to be configured. The configuration varies with each authentication mechanism, so strategy-specific documentation should be consulted. That being said, there are common patterns that are encountered across many strategies.
The following code is an example that configures the LocalStrategy:
const LocalStrategy = require("passport-local");

const strategy = new LocalStrategy(function verify(username, password, cb) {
  db.get(
    "SELECT * FROM users WHERE username = ?",
    [username],
    function (err, user) {
      if (err) return cb(err);
      if (!user)
        return cb(null, false, { message: "Incorrect username or password." });

      crypto.pbkdf2(
        password,
        user.salt,
        310000,
        32,
        "sha256",
        (err, hashedPassword) => {
          if (err) return cb(err);
          if (!crypto.timingSafeEqual(user.hashed_password, hashedPassword))
            return cb(null, false, {
              message: "Incorrect username or password.",
            });

          return cb(null, user);
        }
      );
    }
  );
});
Verify Function
The LocalStrategy constructor takes a function as an argument. This function is known as a verify function, and is a common pattern in many strategies. When authenticating a request, a strategy parses the credential contained in the request (The credential being what exactly?? How does it know what credential to use??). A verify function is then called, which is responsible for determining the user to which that credential belongs. This allows data access to be delegated to the application.
In this particular example, the verify function is:
- Executing a
SQLquery to obtain auserrecord from the database. - Verifying the password.
- Yielding the record back to the strategy
Successfully completing these three actions will complete our authentication process of the user and establish a login session (What does it mean to establish a login session?).
Since a verify function is supplied by the application itself (i.e. Our custom code), access to persistent storage is not constrained in any way (i.e. We can use any type of database or storage mechanism we want). The application is free to use any data storage system, including relational databases, graph databases, or document stores, and structure that data within our chosen database according to any schema.
A verify function is strategy-specific, and the exact arguments it receives and parameters it yields will depend on the underlying authentication mechanism. This means that passport does not have a set way to use verify functions because each strategy may differ. That being said, I am sure there are underlying rules that strategies must employ to be usable with the PassportJS framework.
For authentication mechanisms involving shared secrets, such as a password, a verify function is responsible for verifying the credential and yielding a user. For mechanisms that provide cryptographic authentication, a verify function will typically yield a user and a key, the later of which the strategy will use to cryptographically verify the credential.
A verify function yields under one of three conditions:
- success
- failure
- error
If the verify function finds a user to which the credential belongs, and that credential is valid, it calls the callback with the authenticated user:
// syntax for this strategies callback function:
// cb(error, userValue?)

return cb(null, user);
If the credential does not belong to a known user, or is not valid, the verify function calls the callback with false to indicate an authentication failure:
// syntax for this strategies callback function:
// cb(error, userValue?)

return cb(null, false);
If an error occurs, such as the database not being available, the callback is called with an error, in idiomatic Node.js style:
// syntax for this strategies callback function:
// cb(error, userValue?)

return cb(err);
It is important to distinguish between the two failure cases that can occur. Authentication failures are expected conditions, in which the server is operating normally, even though invalid credentials are being received from the user (or a malicious adversary attempting to authenticate as the user). Only when the server is operating abnormally should err be set, to indicate an internal error.
Step 3 – Register
With the strategy configured, it is then registered by calling .use() method from the passport package (i.e. PassportJS):
const passport = require("passport");
const LocalStrategy = require("passport-local");

const strategy = new LocalStrategy(function verify(username, password, cb) {
  /* ... */
});

passport.use(strategy);
All strategies have a name which, by convention, corresponds to the package name according to the pattern passport-{name}. For instance, the LocalStrategy configured above is named “local” as it is distributed in the passport-local package.
Once registered, the strategy can be employed to authenticate a request by passing the name of the strategy as the first argument to passport.authenticate() middleware:
app.post(
  "/login/password",
  passport.authenticate("local", {
    failureRedirect: "/login",
    failureMessage: true,
  }),
  (req, res) => {
    res.redirect("/~" + req.user.username);
  }
);
In cases where there is a naming conflict, or the default name is not sufficiently descriptive, the name can be overridden when registering the strategy by passing a name as the first argument to passport.use():
const passport = require("passport");
const LocalStrategy = require("passport-local");
const strategy = new LocalStrategy(function verify(username, password, cb) {
/* ... */
});
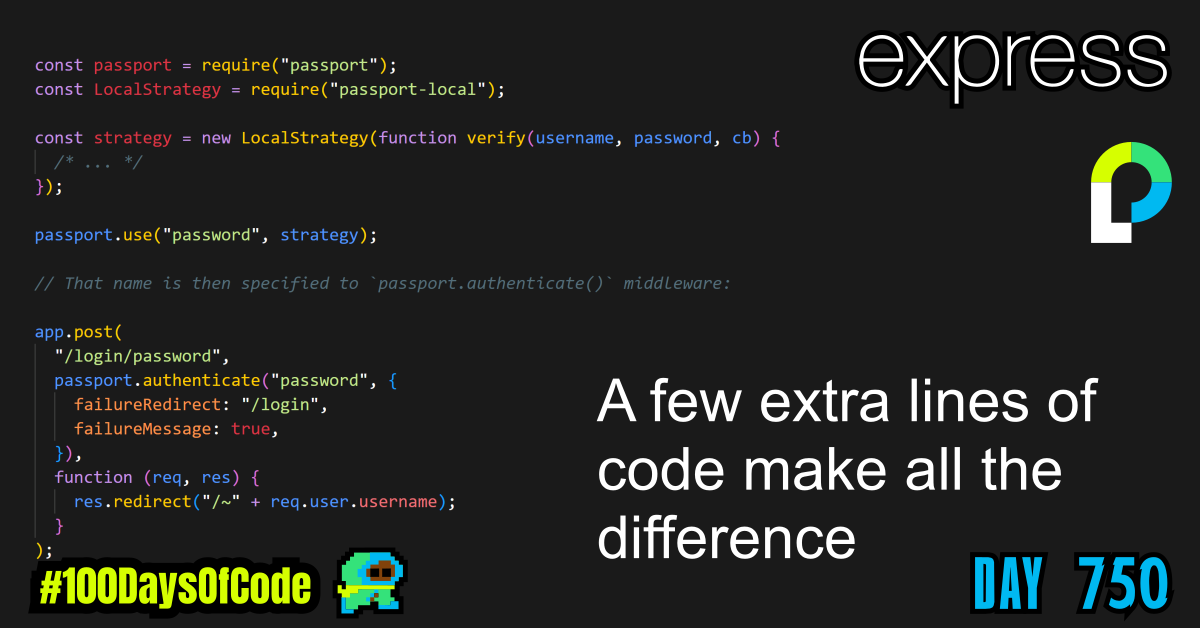
passport.use("password", strategy);
// That name is then specified to `passport.authenticate()` middleware:
app.post(
"/login/password",
passport.authenticate("password", {
failureRedirect: "/login",
failureMessage: true,
}),
function (req, res) {
res.redirect("/~" + req.user.username);
}
);
For brevity, strategies are often configured and registered in a single statement:
const passport = require('passport')
const LocalStrategy = require('passport-local')

passport.use(new LocalStrategy(function verify(username, password, cb) {
  /* ... */
})

app.post('/login/password',
  passport.authenticate('local', { failureRedirect: '/login', failureMessage: true }),
  function(req, res) {
    res.redirect('/~' + req.user.username);
  });
Note: Although strategies are often configured and registered in a single statement. They still need to be employed on the specific routes you want authentication for with the separate step of calling the passport.authenticate(strategyName, optionsObject) middleware function.
If you want to overide the name while configuring and registering the strategy in one step it would look like this:
const passport = require("passport");
const LocalStrategy = require("passport-local");

passport.use(
  "password",
  new LocalStrategy(function verify(username, password, cb) {
    /* ... */
  })
);

// That name is then specified to `passport.authenticate()` middleware:

app.post(
  "/login/password",
  passport.authenticate("password", {
    failureRedirect: "/login",
    failureMessage: true,
  }),
  function (req, res) {
    res.redirect("/~" + req.user.username);
  }
);
Sessions
A web application needs the ability to identify users as they browse from page to page. The data stored and associated with each respective user is known as session data our Sessions for short. This data can be stored in a variety of ways but ultimately it’s purpose is the same. So, for the sake of brevity we won’t detail how the sessions are implemented specifically but just review the concept in general.
Implementation of Sessions
So how are sessions implemented? Well… HTTP (Hypertext Transport Protocol) is a network protocol that is primarily used for all access to websites using the internet. However, it is a stateless protocol. This means that we cannot hold a lot of session data as some sort of HTTP state. It’s like each request to get information from a website has a no connection to any previous requests by default. So when using HTTP the user seems like a new user all the time because each request is made in isolation – without any context from previous requests. This poses a challenge for web applications with logged in users, as the authenticated user needs to be remembered across subsequent requests as they navigate the application i.e. (We need to be able to store session data).
To solve this challenge, web applications make use of sessions, which allow state to be maintained between the application server and each respective user’s browser. A generic session (No user authentication) is established by setting an HTTP cookie which identifies the browser (i.e. client) upon first connection to the website. The browser then transmits said cookie to the server on every subsequent request. The server uses the value of the cookie to retrieve information (i.e. session data) it needs across multiple requests. In effect, this creates a stateful protocol on top of HTTP.
While sessions in this context will be used to maintain authentication state, they can also be used by applications to maintain other state unrelated to authentication (as described above). Passport is carefully designed to isolate authentication state, referred to as a “login session”, from other state.
Applications must initialize session support in order to make use of login sessions. In an Express app, session support is added by using express-session middleware.
const express = require("express");
const session = require("express-session");

const app = express();

app.use(
  session({
    secret: "keyboard cat",
    resave: false,
    saveUninitialized: false,
    cookie: { secure: true },
  })
);
Note: express-session stores session data in a default server-side “MemoryStore” if no “store” property is provided to options object. This session storage method is not acceptable for production. It is only useful for testing in development.
To maintain a login session, Passport serializes and deserializes user information to and from the session. The information that is stored is determined by the application, which supplies a serializeUser and a deserializeUser function.
Goal For Round 8 of the #100DaysofCode Challenge
This is my eighth round of the “#100daysofcode” challenge. I will be continuing my work from round five, six, and seven into round eight. I was working through the book “Cracking the Coding Interview” by Gayle Laakmann McDowell. My goal was to become more familiar with algorithms and data structures. This goal was derived from my goal to better understand operating systems and key programs that I use in the terminal regularly e.g. Git. This goal was in turn derived from my desire to better understand the fundamental tools used for coding outside of popular GUIs. This in turn was derived from my desire to be a better back-end developer.
I am currently putting a pause on the algorithm work to build some backend/full stack projects. I primarily want to improve my skills with the back-end from an implementation perspective. I have improved tremendously in terminal and CLI skills but I lost focus due to how abstract the algorithm concepts got. I wanted to work on things that were more tangible until I can get to a position where I could directly benefit from improving my algorithm skills and theoretical knowledge. So that’s the focus right now. Build my backend skills and prove my full stack capabilities by building some dope projects.
Again, I still have no idea if my path is correct but I am walking down this road anyways. Worst case scenario I learn a whole bunch of stuff that will help me out on my own personal projects. Best case scenario I actually become one of those unicorn developers that go on to start a billion dollar company… You never know LOL.