Continued my web security studies. Finished reading through the codebase for the PassportJS package. It took a while but I finally have a decent understanding of how the package works in it’s entirety. The level of satisfaction that I have from sticking this out and understanding the code is unmatched. On top of that my first mechanical keyboard got delivered today. Today just felt like a ‘W’ type of day. Hopefully tomorrow is like this as well. I needed a ‘W’ after so many days of consistent ‘Ls’.
I have been following all the operations that take place when the PassportJS package is imported into another JavaScript module. That journey starts with the construction of the Authenticator class instance and everything that comes with it. I have been following that construction process through the code by then looking at all the branch operations taking place as a result of that construction.
TLDR;
Okay, so here are the highlights of what I did:
- Backend -> Continued studying the concepts mentioned in the web security section. Finished reading through the package’s code base to fill in some of the gaps that are not fully covered in the documentation. The goal was to finish compiling all the information in this docs page as well as all the other examples and sources to construct my own notes that ensure this framework is clear and easy for me to use in the future. I still need to finish writing my notes but I have successfully come to a fairly complete understanding of the codebase. Next is the revision and refinement of my notes to try and make it as clear as possible.
What the PassportJS Docs Missed About Serializers
This whole effort of breaking down the codebase stemmed from the lack of information provided about the passport.serializeUser() and passport.deserializeUser() methods. These methods were just briefly presented in the documentation as necessary declarations before sessions can be implemented with PassportJS.
The documentation simply stated:
To maintain a login session, Passport serializes and deserializes user information to and from the session. The information that is stored is determined by the application, which supplies a
serializeUserand adeserializeUserfunction.
The documentation then follows up with this code snippet:
passport.serializeUser(function(user, cb) {
  process.nextTick(function() {
    return cb(null, {
      id: user.id,
      username: user.username,
      picture: user.picture
    });
  });
});

passport.deserializeUser(function(user, cb) {
  process.nextTick(function() {
    return cb(null, user);
  });
});
This left me more confused than when I had no idea about this feature. So, I tried googling for some answers with little to no success. Long story short, I decided to use this as an opportunity to practice reading through a package’s codebase to understand what the documentation may have left out.
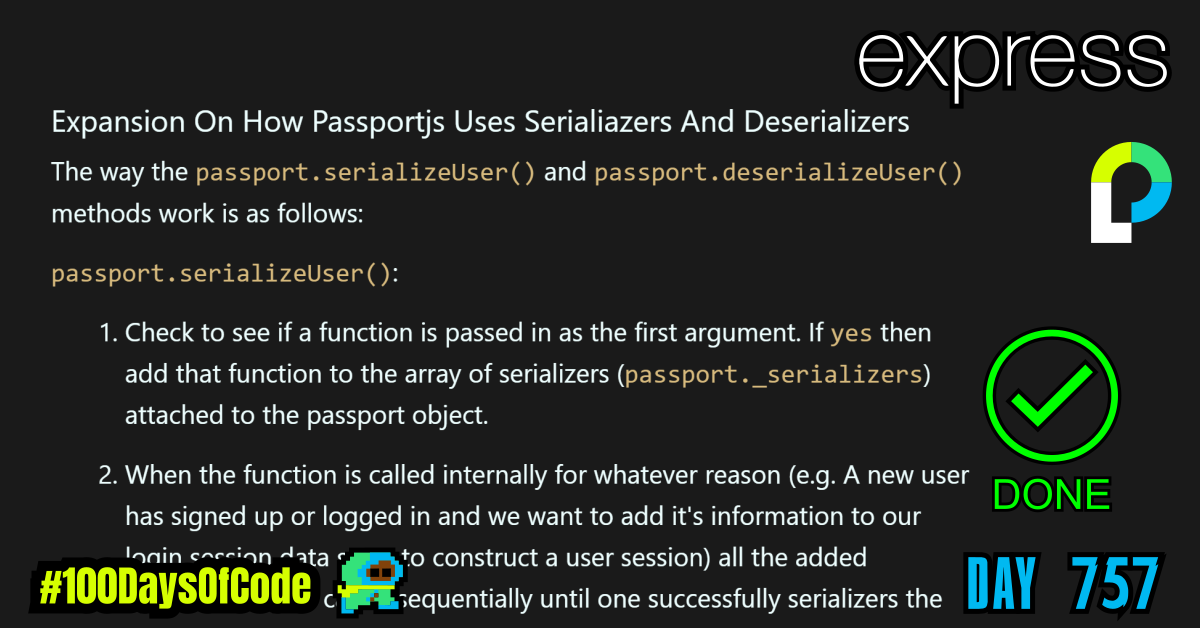
Expansion On How Passportjs Uses Serialiazers And Deserializers
The way the passport.serializeUser() and passport.deserializeUser() methods work is as follows:
passport.serializeUser():
- Check to see if a function is passed in as the first argument. If
yesthen add that function to the array of serializers (passport._serializers) attached to the passport object. - When the function is called internally for whatever reason (e.g. A new user has signed up or logged in and we want to add it’s information to our login session data store to construct a user session) all the added serializers will be called sequentially until one successfully serializers the user data or an error is returned. The function we passed in as an argument for step
1.is now utilized here. We have only seen examples so far that employ oneserializeUserfunction but technically we could add multiple just like how we can add multiple strategies to PassportJS.
passport.deserializeUser():
- Check to see if a function is passed in as the first argument. If
yesthen add that function to the array of deserializers (passport._deserializers) attached to the passport object. - When the function is called internally for whatever reason (e.g. An existing user has logged in (authenticated) and we want to get the user’s already stored data from our session data store). All the added deserializers will be called sequentially until one successfully deserializers the user data or an error is returned. The function we passed in as an argument for step
1.is now utilized here. We have only seen examples so far that employ onedeserializeUserfunction but technically we could add multiple just like how we can add multiple strategies to PassportJS.
Remainder of Notes From PassportJS Docs
A login session is established upon a user successfully authenticating using a credential. The following route will authenticate a user using a username and password. If successfully verified, Passport will call the serializeUser function, which in the above example is storing the user’s ID, username, and picture. Any other properties of the user, such as an address or birthday, are not stored.
app.post('/login/password',
  passport.authenticate('local', { failureRedirect: '/login', failureMessage: true }),
  function(req, res) {
    res.redirect('/~' + req.user.username);
  });
As the user navigates from page to page, the session itself can be authenticated using the built-in session strategy (This strategy is built into the passport package and does not need to be installed). Because an authenticated session is typically needed for the majority of routes in an application, it is common to use this as application-level middleware, after session middleware.
app.use(session(/* ... */);
app.use(passport.authenticate('session'));
This can also be accomplished, more succinctly, using the passport.session() alias.
app.use(session(/* ... */);
app.use(passport.session());
When the session is authenticated, Passport will call the deserializeUser function, which in the above example is yielding the previously stored user ID, username, and picture. The req.user property is then set to the yielded information.
Goal For Round 8 of the #100DaysofCode Challenge
This is my eighth round of the “#100daysofcode” challenge. I will be continuing my work from round five, six, and seven into round eight. I was working through the book “Cracking the Coding Interview” by Gayle Laakmann McDowell. My goal was to become more familiar with algorithms and data structures. This goal was derived from my goal to better understand operating systems and key programs that I use in the terminal regularly e.g. Git. This goal was in turn derived from my desire to better understand the fundamental tools used for coding outside of popular GUIs. This in turn was derived from my desire to be a better back-end developer.
I am currently putting a pause on the algorithm work to build some backend/full stack projects. I primarily want to improve my skills with the back-end from an implementation perspective. I have improved tremendously in terminal and CLI skills but I lost focus due to how abstract the algorithm concepts got. I wanted to work on things that were more tangible until I can get to a position where I could directly benefit from improving my algorithm skills and theoretical knowledge. So that’s the focus right now. Build my backend skills and prove my full stack capabilities by building some dope projects.
Again, I still have no idea if my path is correct but I am walking down this road anyways. Worst case scenario I learn a whole bunch of stuff that will help me out on my own personal projects. Best case scenario I actually become one of those unicorn developers that go on to start a billion dollar company… You never know LOL.